A simple web application created on the DVelum platform: Phone book in 10 minutes without programming
The recipe shows the basic system opportunities and its various interfaces. We will create an administrative module without using programming. Let it be a Phone book containing records of first names, second names and phone numbers. The contacts will be divided into groups with the help of dictionaries.
Creating an ORM object (database operations)
Let’s start with the database, with creating ORM objects in particular. Log in the administrative panel and open the ORM management interface.
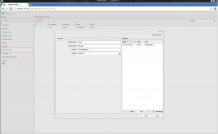
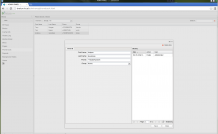
Create a new object by clicking “Add Object” and fill in the form in the window, which opens:
- Tick the ‘History log’ box to keep track of chang;
- Name the object “phonebook”;
- Title it “Phone Book”;
- Add the database table name – “phonebook”;
- Choose the type of data storage from the Table engine dropdown list - MyIsam.
Save the object by clicking “Save”.
Upon saving a new object, you’ll need to add fields for storing the data. To do this, open the ‘Fields’ tab. Please note that the id field containing the object identifier has been created automatically and system settings cannot be modified.
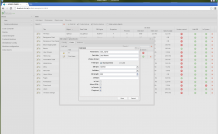
Add the first_name field, which will contain the first name. Specify its title and type (a variable character field (varchar) allowing for up to 255 characters). Make a note on the form that the field is a search field and, thus, is required.
Search fields are used by data filters. Search by such fields is run based on a special request using the LIKE SQL-construction:
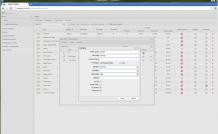
Likewise, create fields for second name and phone number:
 |
 |
As we have decided to divide the contacts into groups, we will need a dictionary for these groups.
Click the “Dictionaries” button to open the dictionary management interface.
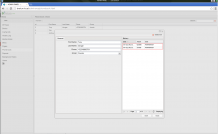
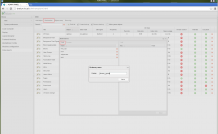
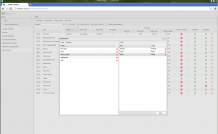
Create a new dictionary. Name it phone_group and add some records (group names), like home, work, friends.
 |
 |
Close the dictionary management interface. Get back to editing object fields.
Add the missing field, which will contain the dictionary value link. Name it “group”, specify its type as “dictionary link”.
At this point the work with the database is finished. Now, let’s get down to creating the interface.
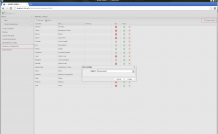
We will apply the in-built mechanism of interface autogeneration. Let’s create an interface for the new object. Go to the “Modules configuration” interface and click the “Create Module” button in the right-hand corner.
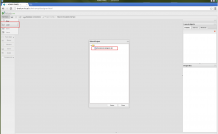
All that remains is to specify the object, for which the module will be generated and press the “Create” button.
*The list of objects shows only those, which have not yet got a controller of the same name created for them.
New module generation will create a controller, an interface project and js-file (actions). The module is added to the list of available ones in the system, while the current user group is assigned full access rights to the module. The module is added to the main administrative menu.
The interface being created will differ for the versioned and not versioned objects. The autogenerator may be improved by Your own generation templates (the review on this will follow later in another tutorial).
 |
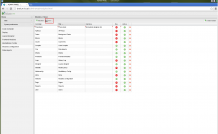 |
The interface has been created. Let’s check it and click Save.
Once the page reloads, the interface will show up in the menu.
Enter the created module and try to add a record to the phonebook.
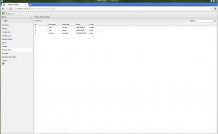
The list of records:
Please note that any record may be edited and the revision history is saved.
Now, we’ve got to check whether the search component performs well. Let’s try to search by all available fields.
Everything works fine.
Interface improvement
Let’s get down to customizing the interface. We will add filtering by groups and remove the id column.
Let’s use the Layout designer.
Open the relative section and upload the project generated by the system. The project will carry the same name as the object – ‘phonebook’.
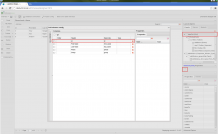
To remove the id column in the list of phone book records, open the dataGrid properties and remove the corresponding field (double clicking the element in the Panels tree reloads the Properties panel, which is located under the tree).
In the Properties panel there is a quick access button to the table columns. A click on the button will open an Edit window for managing table columns. This interface allows to manage the table columns.
On your left You will find the tree-like structure of the columns. It is hidden by default and will show upon clicking the left panel. The tree allows to sort columns and create nested elements by drag and dropping the items. Besides, the interface enables You to configure the cell editors, change column properties and add Action Column elements.
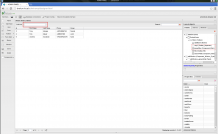
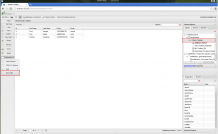
To create a table filter, add a ‘Store filter’ component and name it “groupFilter”:
 |
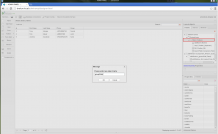 |
Place it next to the ‘Add element’ button and put a separator in-between (to do this, drag and drop the tree element one position down from the separator ‘sep1 Toolbar_Separator’):
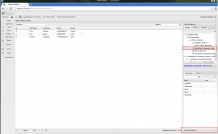
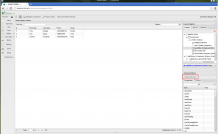
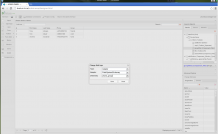
Initially, a filter is a text input field. Let’s make it a drop down list. To change the field type, open the Filter component properties and change the filter field type. Define the field type as ‘Adapter’ and the adapter type as ‘Dictionary Adapter’.
Specify the pnone_group dictionary for the adapter and click Save:
 |
 |
 |
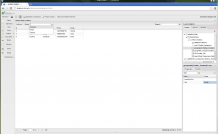
Add a title to the filter field – “goupLabel”, place it next to the filter component and add text: “Group”.
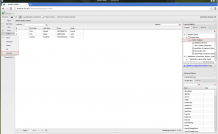 |
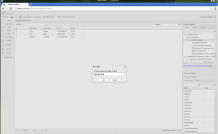 |
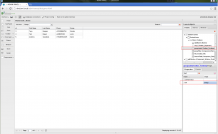 |
The drop down list shows the dictionary values, which we have specified. Now, we only need the opportunity to clear the filters to view all groups.
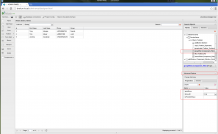
To do this, change the property value for ‘Show all’ filter to true. Thus, we will get another option in the drop down list:
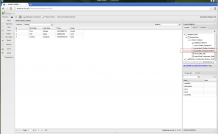 |
 |
The filter does not work yet as we need to specify the data storage for it, as well as the field to filter by.
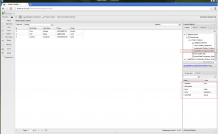
This filter will work remotely, on the server side. Specify the storage and filter field – “group”:
That’s it. Save the project and exit the Layout Designer. Let’s check what we have got: the application is ready to use.
PS:
Having thoroughly tested the application, one may notice that the Group column in the Contact list shows the dictionary key, but not its value. To fix this, assign a renderer for the column. Creating Your own renderer will be reviewed in another tutorial.
