Editing interface for links to object list in terms of Related Articles
In this case study we’ll learn how to create an interface for editing a field containing a link to object list.
Let’s take a ready-to-use example - Articles from the Demo compilation and add another field - Related Articles. It will be similar to Related Topics, which were implemented earlier.
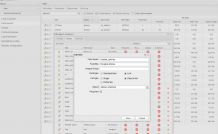
Add a new field in the ORM management interface.
- Field name: related_articles
- Field title: Related Articles
- Field type: Link
- Link Type: Objects list
- Object: Articles
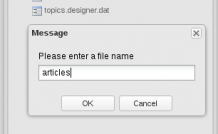
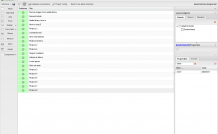
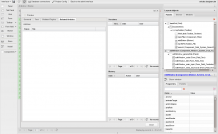
To choose a related article we will need a simplified panel containing a list of articles and their statuses. Create a new project in the Layout Designer, locate it in the ‘panels’ directory and name it ‘articles’:
The interface will be simple (Grid, Store, Search) and will contain a table repository and a search field.
Follow the steps below.
Create a repository, name it dataStore.
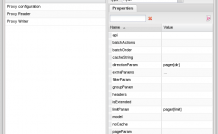
Set up Proxy:
Set the url of the data source.
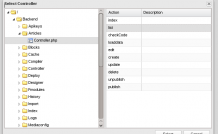
There already exists the necessary action in the system, so just specify it in the following way:
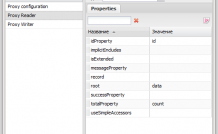
Define the Proxy Reader properties:
Set the repository fields.
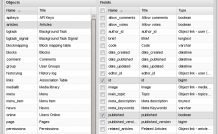
Import the fields from the Articles object:
In the dataStore object settings et the autoLoad property to true.
Add Grid component to the interface and name it dataGrid.
In the component's main settings specify store: dataStore.
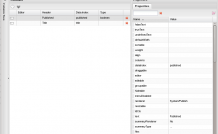
In the table columns management interface import the fields from dataStore and define titles for them.
Specify renderer for the Published column: System/ Publish.
Specify the properties for the Title column: flex:1, align:center.
Close the column editing window and click the ‘Refresh the view’ button.
Swap the columns around, making the Status column first (drag and drop it) and decrease its width (drag the right edge of the column to the left):
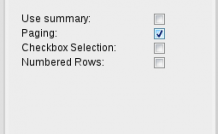
Add pagination:
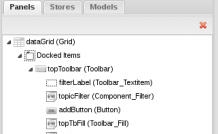
Add the following components to the dataGrid->dockedItems:
- Toolbar/Panel, title it ‘toolbar’
- Toolbar/Fill, title it fill
- Components/Field/Searchfield, title it search
Specify settings for the component:
- local:false (filtering on the server side)
- searchParam: search (the parameter taken by Backend_Controller_Articles::listAction)
- store:dataStore
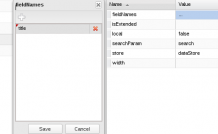
Add a title field to the fieldname component (the field for search and filtering).
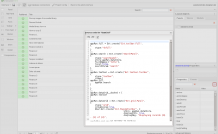
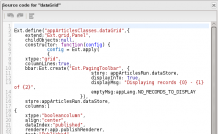
The interface is ready. Click the showCode button to view the code, which will be generated for the dataGrid:
As we are creating a component for the interface, but not a regular editing interface, we need to change the project settings. Change the component name space.
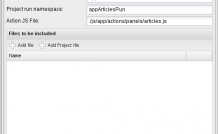
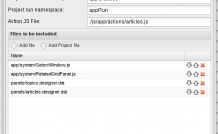
To do this, enter the projectConfig and set the following values:
- classes namespace: appArticlesClasses (component class name space)
- run namespace: appArticlesRun (code execution name space)
- Action JS File is to be left unchanged (it’s the file containing executable code responsible for the application logic)
All that remains is to declare dataGrid a component. To do so, set isExtended to true in its properties (which means that the component will be created as a class inheriting from Ext.grid.Panel).
Click the show Code button to check whether the dataGrid source code has been updated:
As we were going to use our component together with the Related Items Grid, platform of earlier than 0.9 versions will require a small override (which is not necessary for DVelum 0.9 x versions).
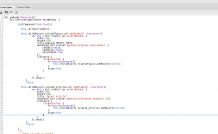
Open code editor (bottom panel) and insert the following code:
Ext.onReady(function(){
    Ext.override(appArticlesClasses.dataGrid ,{
        initComponent:function(){
            this.callOverridden();
            this.dataGrid = this;
        }
    });

});
This override is necessary for the Related Items Grid to catch the link to the dataGrid of our component. In DVelum 0.9 and later versions this happens automatically.
The component is ready, save and close the project.
Add the newly created component to the article management interface. Open the project articles.designer.dat from the project root directory, open Project.Config and click Add Project File to connect the newly created project for the Related Articles component to the current project.
Then choose /panels/articles.designer.dat and click Select. The component will be added to the project:
Click Save.
Add components/field/Related Items Grid to the editWindow component and title it ‘related_articles’:
Set properties for the component:
- fieldName: related_articles
- title: Related Articles
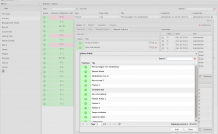
Click the refreshView button, choose the editWindow component, click showWindow and check if another tab has appeared in the Edit Article window:
All that remains is to set the event adding element for this ce component.
Open the code editor and add the following code to the initComponent method:
this.childObjects.related_articles.on('addItemCall',function(){
        	var win = Ext.create('app.selectWindow',{
                    	width:700,
                    	height:600,
                    	title:"Select Article",
                    	dataPanel:Ext.create('appArticlesClasses.dataGrid',{}),
                    	listeners:{
                               	'itemSelected':{
                                     fn:function(record){
                                                       	this.childObjects.related_articles.addRecord(record);
                                     },
                                     scope:this
                               	}

                    	}
        	}).show();
},
this);
This code serves to perform the following actions:
- to add the ‘addItemCall’ event handler (the Add button is active) for the related_articles component;
- (once the event is called) to create a window of the app.selectWindow type, containing our component as a list panel: dataPanel:Ext.create('appArticlesClasses.dataGrid',{});
- to add the 'itemSelected' event handler (the element is selected) for the app.selectWindow component, where the record is actually added to the related_articles component:
Save the code and the project.
Switch to the Articles Management interface:
The editor is there and functions all right.
